Update (2013-04-21): the thin borders are all gone in build 9374.
It looks like Microsoft isn’t changing tack with the next release of Windows – the recently leaked build 9364 of Windows ‘Blue’ contains a bunch of worthwhile changes to the Modern/Metro/Immersive environment, but the desktop seems to be basically untouched from Windows 8. If you hated Windows 8, you’ll probably hate Windows ‘Blue’. If you’re ambivalent, like me, about Windows 8, you’ll probably feel the same way about Windows ‘Blue’. I don’t think I’ve met anyone who loves Windows 8 outright, but that person will love Windows ‘Blue’.
One of my hobbies is getting WPF controls to look more like their native counterparts. I’ve been shoehorning the UxTheme APIs (and older equivalents when theming is unavailable) into something that can be used by WPF over the past year or more, and I’ll write about this process at some point in the future (I’ve implemented native-looking push buttons, radio buttons, checkboxes, scrollbars, list views/list view items, text boxes, group boxes and read-only combo boxes). These efforts pay off the most in Windows 8, since WPF’s theme for that OS leaves much to be desired (just look at the push buttons!). This isn’t entirely surprising given that the theme wasn’t finalised until post-RC, leaving the WPF team without much time to do a good job.
</preamble>
In this post I’ll compare WPF tooltips with Win32 tooltips, and in part 2 I’ll demonstrate how to use Win32 tooltips in a WPF application and post some sample code.
The standard ToolTip control template for the Windows 8 theme in WPF (‘Aero2’) has no drop shadow, whether or not the HasDropShadow property is set. The background colour and margins are also slightly off compared to the native style.
I’ve mentioned PNGGauntlet many times on this blog – it’s a great tool for squeezing the best compression ratios out of the PNG format. It combines the tools PNGOUT, OptiPNG and DeflOpt in a nice WinForms GUI.
As part of the compression process, most chunks are removed by default. This includes the pHYs chunk, which defines the DPI/PPI of the image – an important property when dealing with WPF. To make sure this chunk isn’t deleted, add pHYs under Chunks to keep (PNGOUT) and check the Preserve PNG metadata box for DeflOpt.
Inspired by Window Clippings, my preferred screenshot tool (which unfortunately crashes a lot under Windows 8 RTM), I wrote a small program for making image backgrounds transparent.
I was apparently part of the 5.82% of Windows 7 users who preferred to be notified about updates rather than have them installed automatically. Annoyingly, Windows 8 no longer displays the familiar balloon tip and notify icon when new updates are available, instead placing a notice on the lock screen (which I almost never have occasion to see on my desktop). I found this frustrating enough that I decided to write a small unmanaged program to mimic the basic functionality of the old notify icon. It also supports automatic installation of specified updates (identified by their Knowledge Base ID – I use this to install Windows Defender definition updates). You can find out more and download the tool here:
In Part 1 of this series, I discussed the problem of displaying different bitmap images at different DPIs in WPF. In Part 2, I proposed a solution using multi-frame TIFFs and two simple markup extensions. In this final post I will present a basic program that takes multiple images (PNG recommended), gives the option to specify the DPI of each and generates a multi-frame TIFF file accordingly.
In Part 1 of this series, I explored the issue of displaying pixel-perfect bitmap images in the Windows Presentation Foundation. In this article, I’ll describe a method of displaying different images depending on the system DPI setting using a custom Markup Extension and multi-image TIFF files.
Tagged Image File Format (TIFF) files may contain multiple images, and WPF contains support for this format out of the box. You can use the TiffBitmapEncoder class to combine multiple images into one TIFF – I made a tool called PNGToMultiDPITIFF that does just this, but I’ll leave that to Part 3.
To pick the best-matching image from a multi-frame TIFF, I created two Markup Extensions – one for creating an ImageSource, and one for setting the image’s BitmapScalingMode. If the TIFF contains an exact match for the current DPI, the BitmapScalingMode can be set to NearestNeighbour (as there should be no scaling). If not, it will be set to Unspecified (which means Linear in WPF 4 or newer) so it looks better.
We loop through the frames to see if any match the system DPI. If there is no exact match, the first frame with a DPI above the system DPI is selected. If there is no such frame, we just pick the frame with the highest DPI.
The code for choosing the BitmapScalingMode is similar – instead of returning an image, we return NearestNeighbour if there is an exact DPI match or Unspecified otherwise. If you want to use a different BitmapScalingMode fallback, you can specify an optional second paramater in MultiDPIImageScalingMode:
Images set with the markup extension will not be visible in the WPF designer (Visual Studio or Blend). I’d welcome any suggestions on how to fix this.
Avoid using PNGOUT or PNGGauntlet on PNG images before putting them into multi-frame TIFF files. The Windows TIFF decoder has some issues with compressed PNGs.
I’ve written previously about DPI-awareness in the Windows Presentation Foundation and how to specify measurements in pixels rather than Device Independent Units (DIUs). Something else to consider is image scaling – unlike the Windows Ribbon control or WinRT, WPF has no in-built mechanism for displaying different images according to the system’s DPI setting. This is a nuisance.
To illustrate the problem, I created 5 images. Left-to-right, the image DPIs (vertical and horizontal) are: 72, 96, 120, 144 and 192. The image dimensions are: 32x32px, 32x32px, 40x40px, 48x48px and 64x64px. I purposely used single-pixel-wide lines to make any stretching obvious.
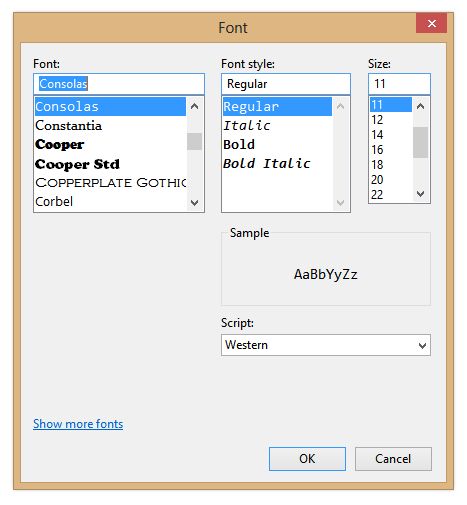
Mister Goodcat wrote a good article a little while ago about using P/Invoke in Silverlight 5 to display the native font chooser dialog with the ChooseFont function. I couldn’t get the code working for a 64-bit executable, however, as the definition of the CHOOSEFONT structure on MSDN he used as a basis for the managed implementation doesn’t match with what’s in the Windows SDK. I’ve created a page on PInvoke.net for the function that includes a definition of CHOOSEFONT that works in both 32-bit and 64-bit versions of Windows.